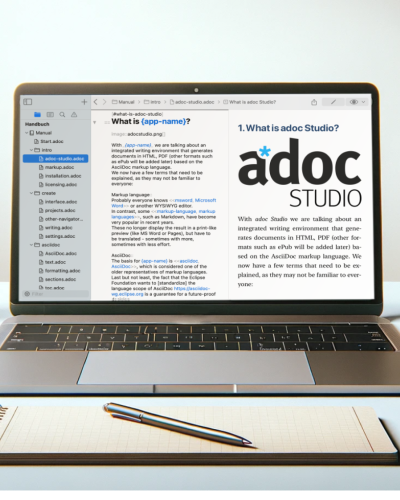
Master AsciiDoc Writing with adoc Coach
Get to know adoc Coach, an easy way to learn AsciiDoc and speed up your writing process. This article explains how to use the menu efficiently.
Learn AsciiDoc while Writing your Text
AsciiDoc is easy to learn due to its simple markup. Only few characters are needed to format, style and structure your text. However, every new language comes with a learning curve. Normally, you need to go through documentation and forums to learn a new markup language. Not with adoc Studio: We want to bring you up to speed as fast as possible. With that in mind, we've designed our completion menu adoc Coach:
adoc Coach provides syntax help and suggestions directly at your cursor. This way, you can write your text and get recommendations on how to enhance it. Then, a short explanation gives you tips on how to embed each element properly. In this blog article, you'll learn all you need to know about adoc Coach.
How to use adoc Coach?
adoc Coach displays all possible syntax elements that are relevant at your current cursor position. You can call it either explicitly or implicitly:
Activate when you need it (Explicit Completion)
There are three ways to call adoc Coach:
Press the ESC key
Right-click in the editor and select "Show adoc Coach"
Go to the Editor menu and select "Show adoc Coach"
Make sure to click in the editor before activating adoc Coach. This way, you'll get suggestions based on your text.
Get Automatic Suggestions (Implicit Completion)
Start writing your text. That is all you need to do. adoc Coach recognizes the non-AsciiDoc term in your defined program language as well as the English AsciiDoc term. Both expressions are visible in the menu. The left side displays the non-AsciiDoc terms while the right side shows the corresponding AsciiDoc code. When calling a syntax element, both expressions will work. Type two or more characters and wait a second, the menu will automatically pop up and recommend suitable elements. If you don't want to use them, simply continue writing and the menu closes itself.
Let's put it in Practice
Let's do a practice run, shall we? For this, we want to set a condition in our text. Conditions allow to embed or exclude content in an export.
For our example, we will work on a software manual for macOS and iPadOS. In this case, the document shall be exported for iPad users. Therefore, we want to tailor the document to the iPad version. The text below shall be displayed (1) when the iPad export is selected or (2) when the attribute :iPad: is directly stated in the text. As of now, all exports will show the text.

There are three conditions that can be used in AsciiDoc: ifdef, ideal, ifndef. For each of these elements, there are different use cases: multi-line, single-line, different number of attributes, etc. This might be confusing for newcomers to AsciiDoc. Therefore, adoc Coach helps you to narrow down to the ideal condition for your text.
In this case, we want to embed the text only when the attribute "iPad" is active. adoc Coach guides us through the selection process. In the end, we go for an ifdef condition for multiple lines since we (1) have one, defined attribute and use it for text that spans across more than one line.

Now we just have to select the right attribute or create a new one if we haven't used it yet. In the second case, we simply write the attribute manually. It will then also appear in the list in future situations.

Then we integrate the text in the condition. To view it in the export, we can (1) define it in our export or (2) set it in the text manually with :iPad:.

With just a few clicks, we chose the right syntax for our text. By the way, if you already know which syntax you want to use, you don't need to go through this selection process every time. You can call any element directly. adoc Coach can help you speed up the syntax writing.
Tips & Tricks
Use the arrow keys to move through the options.
Press Enter to select an option.
After selection, use the Tab key to cycle through the parameters.
Remove irrelevant parameters with Enter or click the X with your mouse. This is handy for titles or image options.
If you are an iPad user using an external keyboard without an ESC key: The key can be activated via a predefined shortcut or custom macros. For more details, refer to our blog post on this topic.


